This post may contain affiliate links. Please read my disclosure and privacy policy.
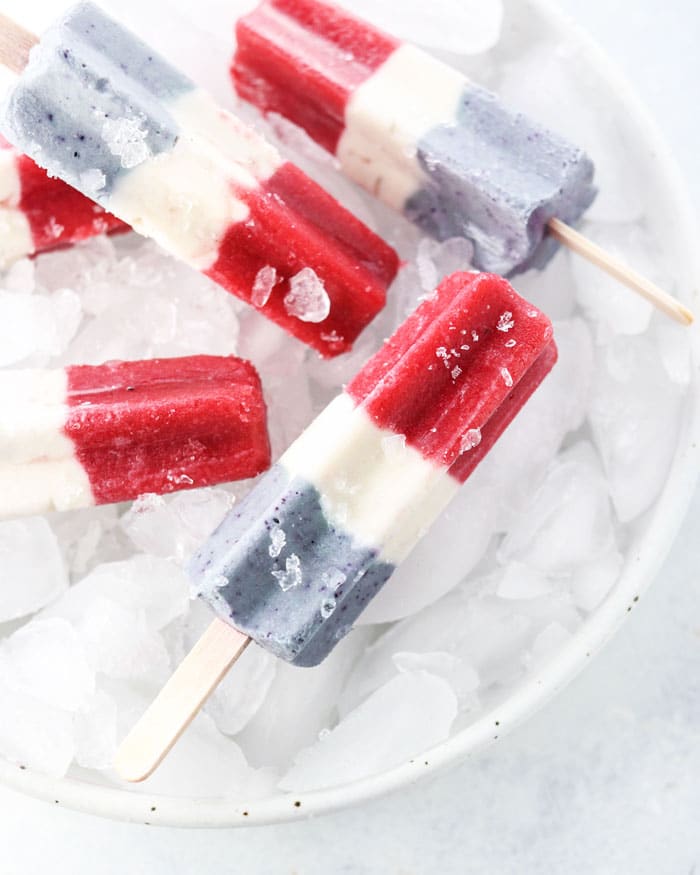
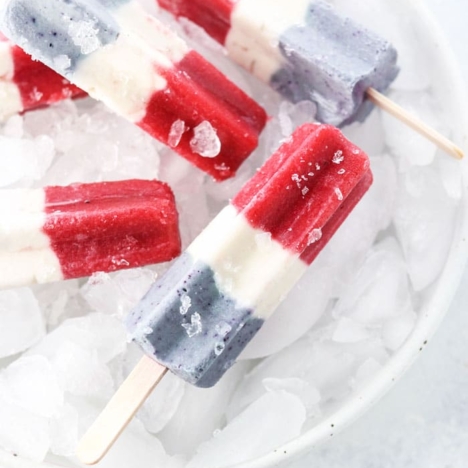
These red, white, & blue popsicles are a great 4th of July dessert, made with healthy strawberries, blueberries, and dairy-free coconut milk.
Store-bought Bomb Pops or Firecracker ice pops are a yearly tradition at our neighborhood’s 4th of July parade, and my son asks for them long after the holiday is over. This year, I thought I’d make him a healthier version, which you can make at home, too.
These popsicles are dairy-free, dye-free, and naturally-sweetened with just a touch of pure maple syrup for a much healthier Independence Day dessert. No food coloring needed!
They don’t take long to prepare, but it’s a good idea to make these healthy popsicles when you plan on being home for a while, so that you can freeze each layer to help them set properly.
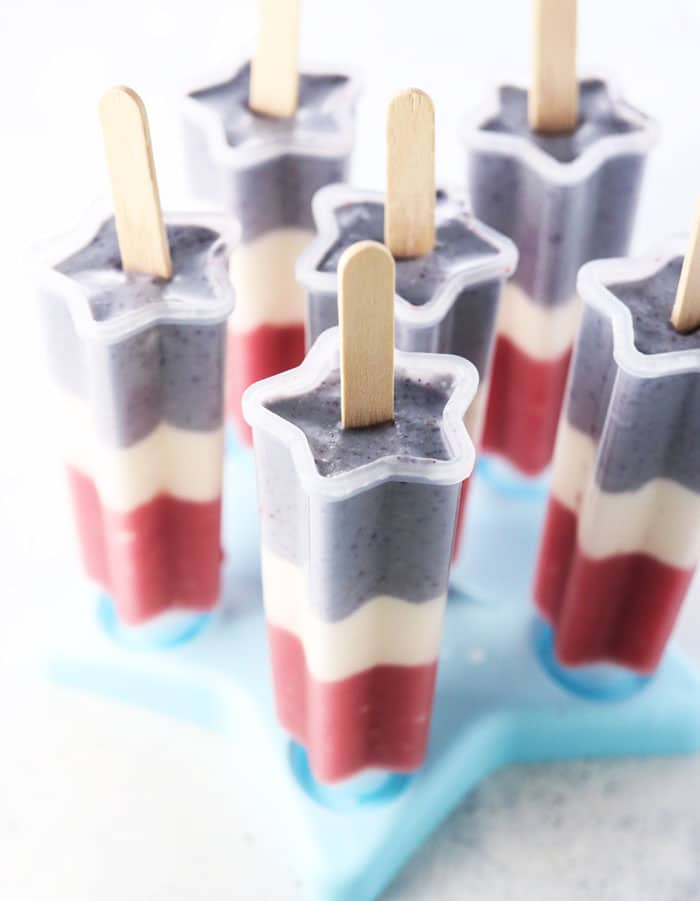
I used a cute star popsicle mold to make these ice pops look like the popular store-bought brands, but I imagine any popsicle mold you have will make for a cute patriotic treat. I hope you’ll enjoy them!
Ingredients
Red Layer:
- 1 cup strawberries , chopped
- 1 Medjool date , pitted (or 1 tablespoon maple syrup)
- 2 tablespoons water
White Layer:
- 1 cup culinary coconut milk (not the refrigerated kind)
- 2 tablespoons maple syrup
Blue Layer:
- 1/4 teaspoon spirulina powder (optional)
- 1/4 cup frozen blueberries
Instructions
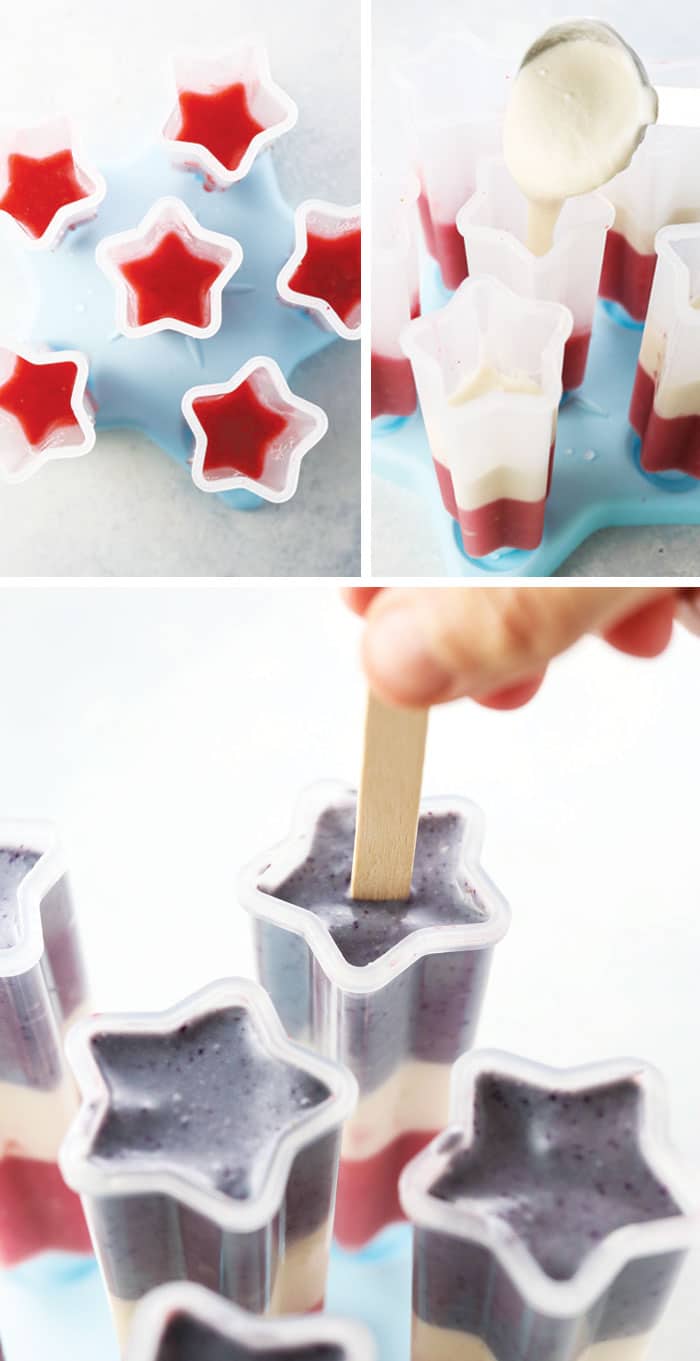
- Combine the fresh strawberries, date (or maple syrup), and water in high-speed blender, and blend until very smooth. Pour the mixture into the 6 ice pop molds, using about 1 1/2 tablespoons per mold. Place the mold in the freezer to set for at least 40 minutes.
- While the red layer is freezing, combine the coconut milk and maple syrup in a clean blender canister and blend until smooth. Once the red layer is set, add a heaping tablespoon of the white mixture to each mold, making the white middle layer. Return the molds to the freezer.
- To the remaining white mixture, add in the spirulina and frozen blueberries, and blend again until smooth. Remove the molds from the freezer and add the blue layer on top, as the last popsicle layer. Insert a popsicle stick into each mold, and freeze until firm, about 4 to 5 hours.
- To remove the popsicles from their mold, run them under hot water for about 10 seconds. This should help the ice pops easily release from the plastic mold. Serve frozen, and keep any remaining popsicles stored in the freezer for up to a month.
Nutrition
Calories per popsicle: 114, Fat: 8g, Carbohydrates: 11g, Fiber: 0g, Protein: 1g
Substitution Notes:
- If you’d prefer to use coconut milk yogurt instead of the culinary coconut milk, I think that would work great for the middle layer, too! I like to use the culinary coconut milk that comes in boxes, rather than cans, but either variety should work just fine. (You could use coconut cream or even coconut butter, too.)
- I think fresh strawberries work best in this recipe because you don’t have to add a lot of water to help them blend, which is best for flavor. The strawberry layer tastes amazing, so I’d only use the frozen variety if you’re in a pinch. Raspberries would also make a pretty red layer instead of strawberries, but I’d strain the mixture to remove any seeds after blending.
- The spirulina in the blue layer is optional, because I know not everyone will have it in their pantries. I think it helps lend a little more blue color to the final layer, but if you use just blueberries the color is still fine– just a little more on the purple side. I’ve also found that the final layer becomes more blue once frozen, so don’t be surprised if your mixture looks more purple at first.
Reader Feedback: What’s your favorite 4th of July dessert?


Making these for the third year in a row. Our kids and friends love these on July 4th.
These are great and my kids loved them. It made for an impressively festive treat at our 4th of July party. Thanks for making me look good!
Hi Megan, This is really great and wonderful recipe.Your step by step photo recipe is most helpful for starters. Thanks to share your recipe.